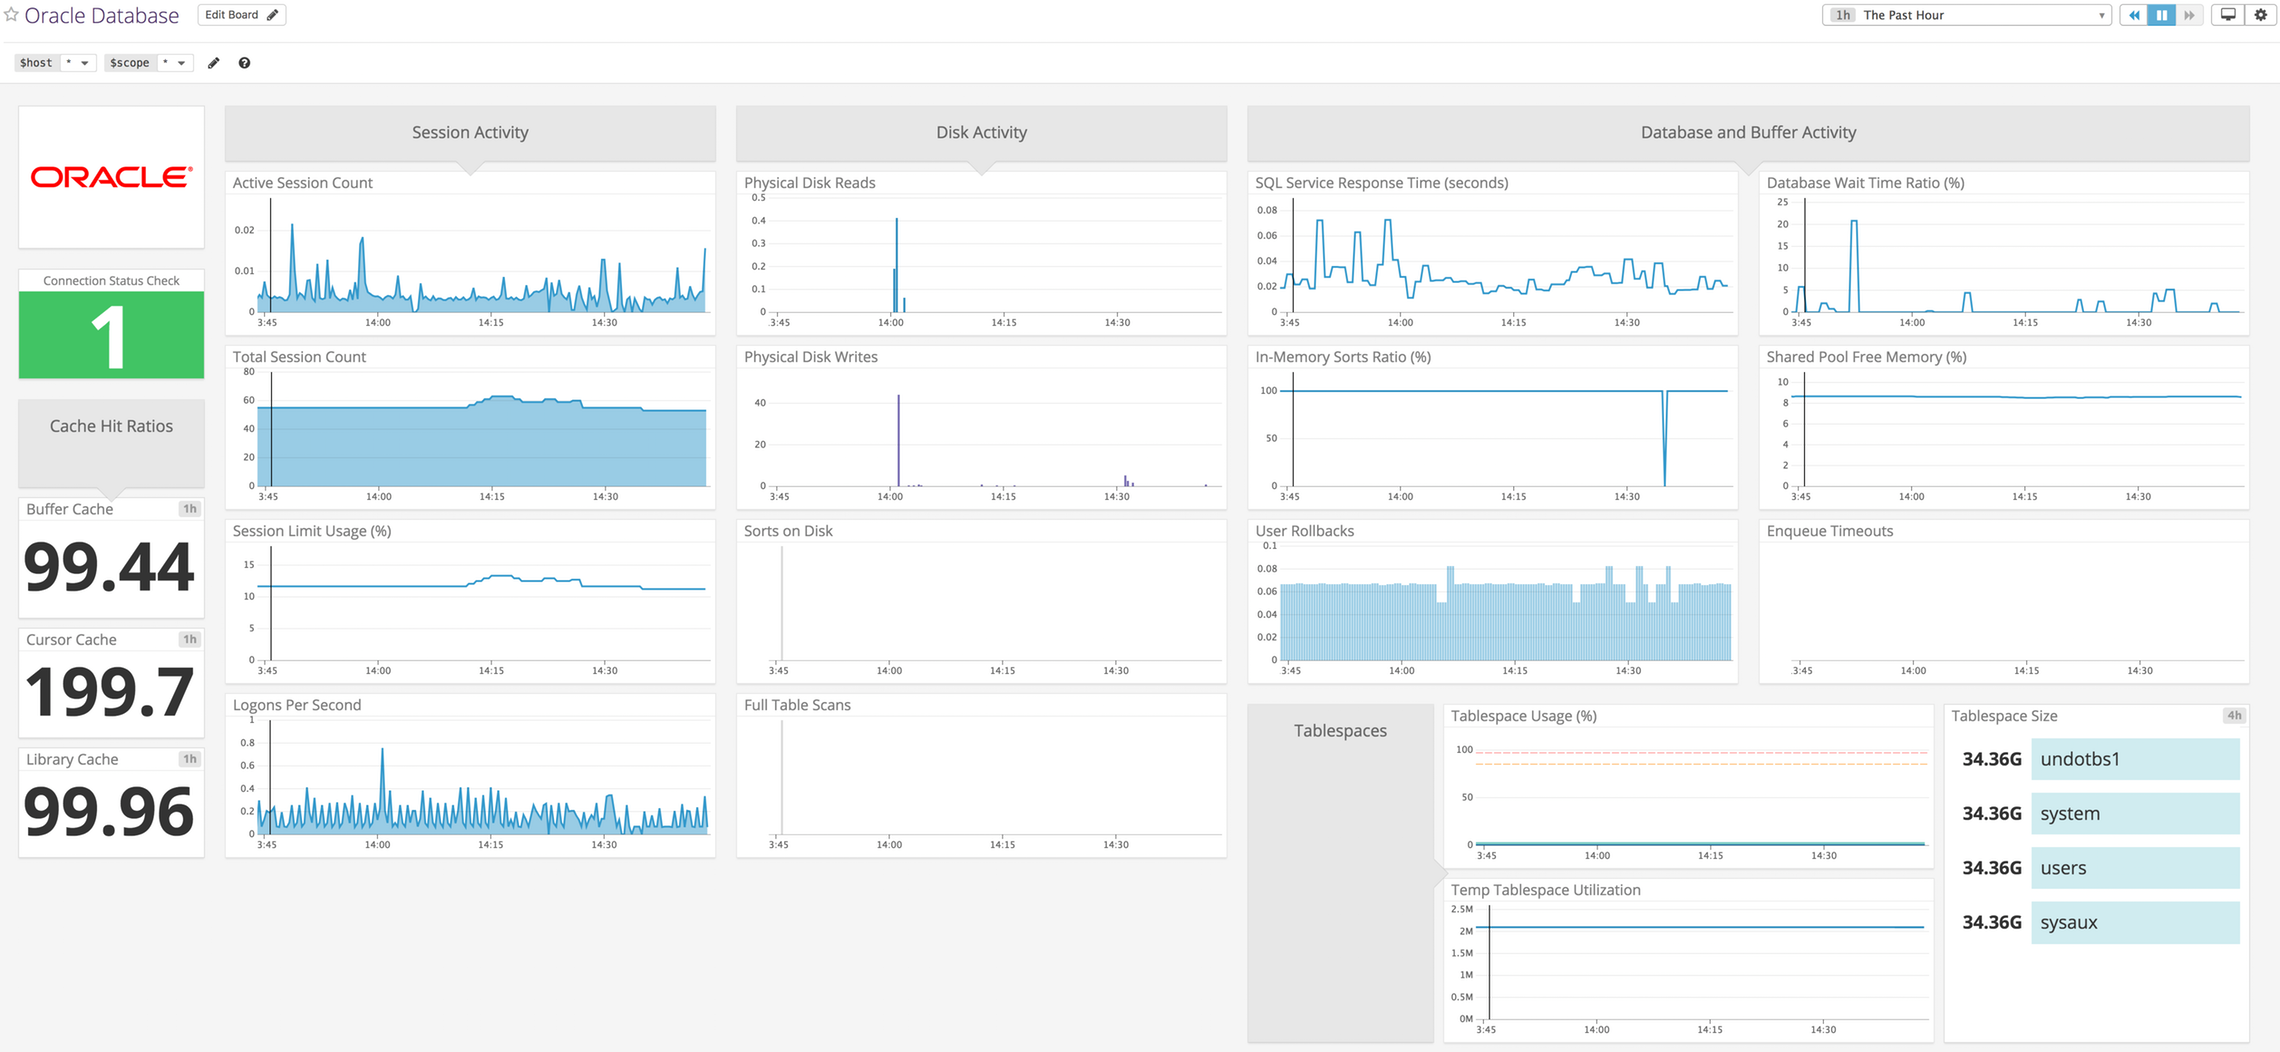
Get metrics from Oracle Database servers in real time to visualize and monitor availability and performance.
To use the Oracle integration, either install the Oracle Instant Client libraries, or download the Oracle JDBC Driver. Due to licensing restrictions, these libraries are not included in the Datadog Agent, but can be downloaded directly from Oracle.
- Download the JDBC Driver jar file.
- Add the path to the downloaded file in your
$CLASSPATHor the check configuration file underjdbc_driver_path(see the sample oracle.yaml).
The Oracle check requires either access to the cx_Oracle Python module, or the Oracle JDBC Driver:
-
Go to the download page and install both the Instant Client Basic and SDK packages.
If you are using Linux, after the Instant Client libraries are installed ensure the runtime linker can find the libraries. For example, using
ldconfig:# Put the library location in an ld configuration file. sudo sh -c "echo /usr/lib/oracle/12.2/client64/lib > \ /etc/ld.so.conf.d/oracle-instantclient.conf" # Update the bindings. sudo ldconfig -
Decompress those libraries in a given directory available to all users on the given machine (i.e.
/opt/oracle):mkdir -p /opt/oracle/ && cd /opt/oracle/ unzip /opt/oracle/instantclient-basic-linux.x64-12.1.0.2.0.zip unzip /opt/oracle/instantclient-sdk-linux.x64-12.1.0.2.0.zip -
Update your
LD_LIBRARY_PATHto include the location of the Instant Client libraries when starting/restarting the agent:
export LD_LIBRARY_PATH=/opt/oracle/instantclient/lib:$LD_LIBRARY_PATH
Note: Agent 6 uses Upstart or systemd to orchestrate the datadog-agent service. Environment variables may need to be added to the service configuration files at the default locations of /etc/init/datadog-agent.conf (Upstart) or /lib/systemd/system/datadog-agent.service (systemd). See documentation on Upstart or systemd for more information on how to configure these settings.
The following is an example of adding LD_LIBRARY_PATH to the Datadog Agent service configuration files (/int/init/datadog-agent.conf) on a system using Upstart.
description "Datadog Agent"

start on started networking
stop on runlevel [!2345]

respawn
respawn limit 10 5
normal exit 0

# Logging to console from the Agent is disabled since the Agent already logs using file or
# syslog depending on its configuration. We make Upstart log what the process still outputs in order
# to log panics/crashes to /var/log/upstart/datadog-agent.log
console log
env DD_LOG_TO_CONSOLE=false
env LD_LIBRARY_PATH=/usr/lib/oracle/11.2/client64/lib/

setuid dd-agent

script
  exec /opt/datadog-agent/bin/agent/agent start -p /opt/datadog-agent/run/agent.pid
end script

post-stop script
  rm -f /opt/datadog-agent/run/agent.pid
end script
Create a read-only datadog user with proper access to your Oracle Database Server. Connect to your Oracle database with an administrative user (e.g. SYSDBA or SYSOPER) and run:
-- Enable Oracle Script.
ALTER SESSION SET "_ORACLE_SCRIPT"=true;

-- Create the datadog user. Replace the password placeholder with a secure password.
CREATE USER datadog IDENTIFIED BY <PASSWORD>;

-- Grant access to the datadog user.
GRANT CONNECT TO datadog;
GRANT SELECT ON GV_$PROCESS TO datadog;
GRANT SELECT ON gv_$sysmetric TO datadog;
GRANT SELECT ON sys.dba_data_files TO datadog;
GRANT SELECT ON sys.dba_tablespaces TO datadog;
GRANT SELECT ON sys.dba_tablespace_usage_metrics TO datadog;
Note: If you're using Oracle 11g, there's no need to run the following line:
ALTER SESSION SET "_ORACLE_SCRIPT"=true;
Edit the oracle.d/conf.yaml file, in the conf.d/ folder at the root of your Agent's configuration directory to point to your server and port, set the masters to monitor. See the sample oracle.d/conf.yaml for all available configuration options.
Run the Agent's status subcommand and look for oracle under the Checks section.
Providing custom queries is also supported. Each query must have 3 parameters:
| Parameter | Description |
|---|---|
metric_prefix |
This is what each metric starts with. |
query |
This is the SQL to execute. It can be a simple statement or a multi-line script. Only the first row of the result is read. |
columns |
This is a list representing each column, ordered sequentially from left to right. There are 2 required pieces of data: a. type - This is the submission method (gauge, count, etc.). b. name - This is the suffix to append to the metric_prefix in order to form the full metric name. If type is tag, this column is instead considered as a tag which is applied to every metric collected by this particular query. |
Optionally use the tags parameter to apply a list of tags to each metric collected.
The following:
self.gauge('oracle.custom_query.metric1', value, tags=['tester:oracle', 'tag1:value'])
self.count('oracle.custom_query.metric2', value, tags=['tester:oracle', 'tag1:value'])
is what the following example configuration would become:
- metric_prefix: oracle.custom_query
  query: |  # Use the pipe if you require a multi-line script.
   SELECT columns
   FROM tester.test_table
   WHERE conditions
  columns:
  # Put this for any column you wish to skip:
  - {}
  - name: metric1
    type: gauge
  - name: tag1
    type: tag
  - name: metric2
    type: count
  tags:
  - tester:oracle
See the sample oracle.d/conf.yaml for all available configuration options.
See metadata.csv for a list of metrics provided by this integration.
The Oracle Database check does not include any events.
oracle.can_connect Verifies the database is available and accepting connections.
Need help? Contact Datadog support.