How to subscribe to SleakOps using AWS
Follow this guide if you already have an account on SleakOps and it is not linked to your subscription on AWS.
Welcome to our guide on how to subscribe to SleakOps using AWS. This step-by-step tutorial will provide you with all the necessary information and instructions you need to successfully subscribe and start enjoying the benefits of SleakOps through your AWS account.
Steps
1. Log into SleakOps
Log into SleakOps using an Admin account.
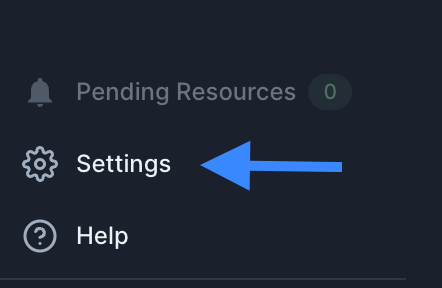
2. Go to Settings > Subscription
From the left menu, access the Settings option at the bottom, and then select the Subscription option.

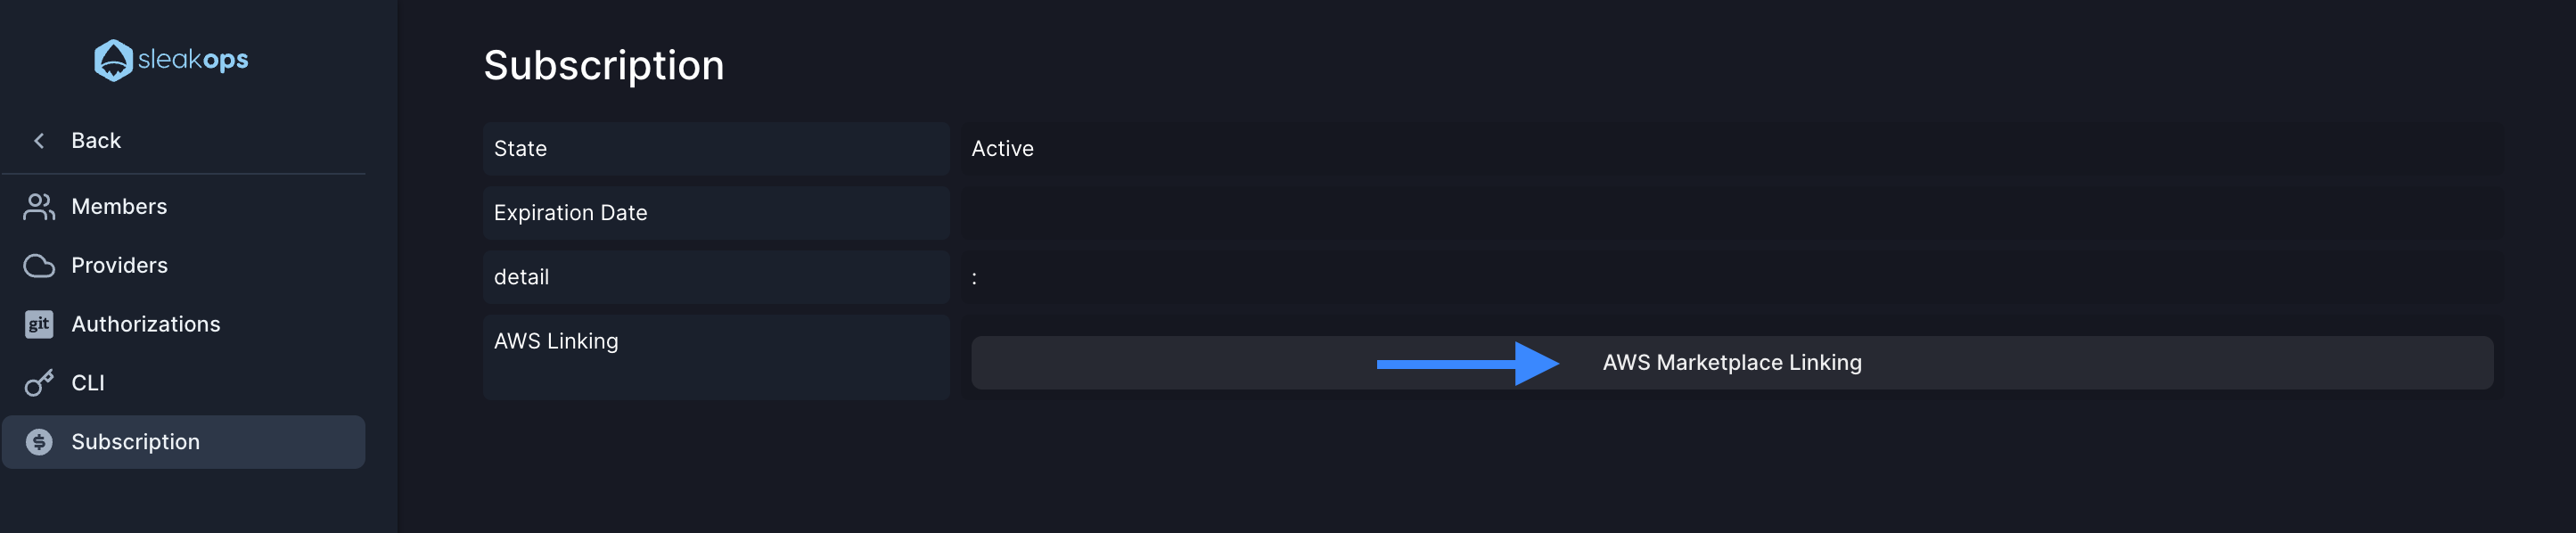
3. Click on AWS Marketplace Linking
Once the section is open, look for the AWS Marketplace Linking button and click on it. This action will redirect you to the SleakOps product overview in AWS.
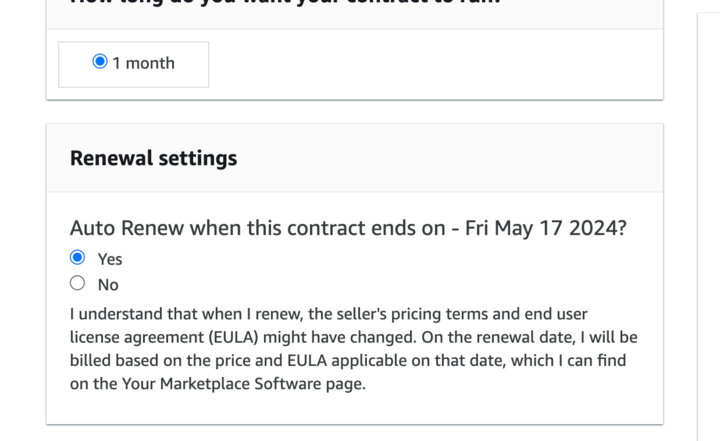
4. Complete the payment
Click on the Pricing menu and complete the payment with the Auto Renew option selected. Currently, SleakOps only allows monthly payments. We are working on providing different options based on payment frequency.
5. Manage your subscription in AWS
Once the payment is done, you need to manage your subscription in AWS. Go to AWS Marketplace >> Manage Subscriptions. Identify the SleakOps subscription and click on Set up Product under the details.

You also have the option to complete the flow using the info modal, where you need to click Set up your account.

By using any of those options, you'll be redirected to SleakOps to confirm the action.
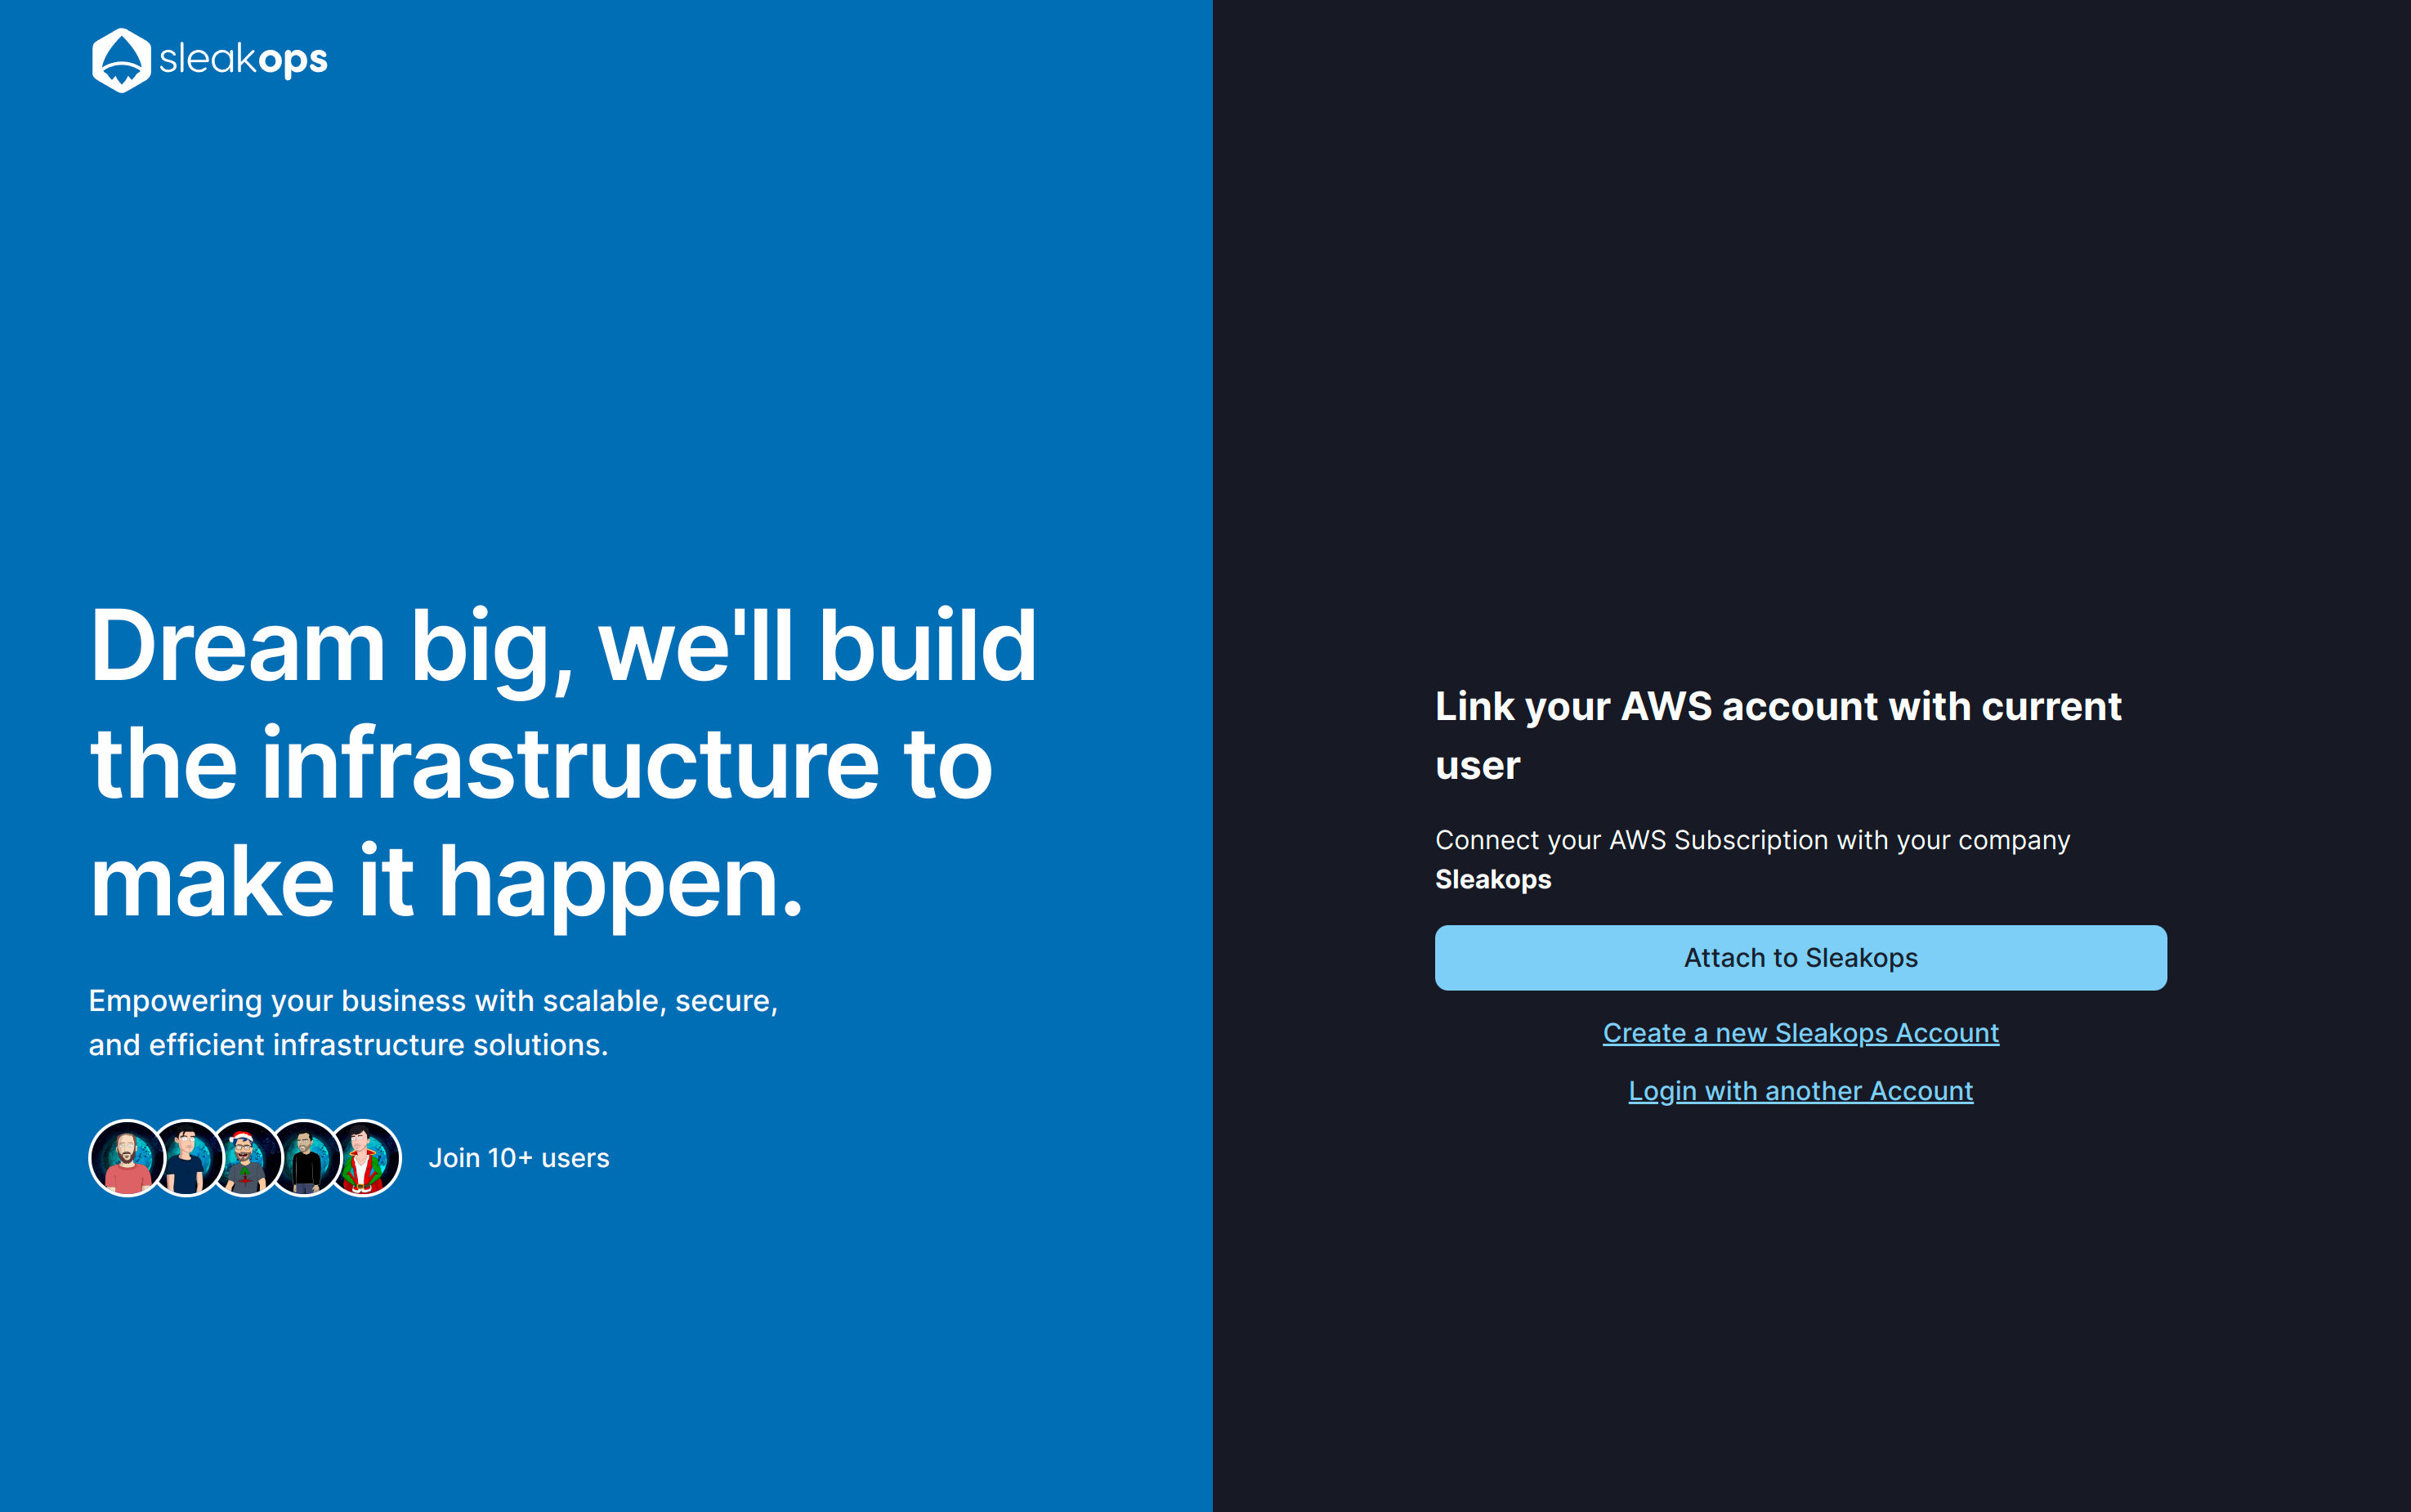
6. Attach to SleakOps
Once you are back on SleakOps, click on Attach to SleakOps to complete the linking.
That is all, you're ready to use SleakOps!