
- GitHub account and GitHub Copilot subscription
- For local development:
- VS Code with GitHub Copilot extension
- Docker Desktop or equivalent, for local Dev Container support
- Alternative: Use GitHub Codespaces
Follow the steps below to prepare your development environment for the exercises. Note that you have two options for launching the development environment: either locally using Dev Containers and VS Code, or using GitHub Codespaces.
- Benefit of local development with Dev Container: Works offline (and not dependent on network conditions), more control over environment
- Benefit of GitHub Codespaces: No local setup required (and quicker setup), works on any machine
To be able to push your own changes, you need to fork this repository to your own personal GitHub account.
See also: Keeping your fork in sync, in case the original repository is updated later.
Step 1: Click the "Fork" button at the top-right of this page
![]()
Step 2: Select your PERSONAL GitHub account as the owner of the fork

NOTE: Do NOT fork to an organization account, as this may cause issues with GitHub Copilot and GitHub Codespaces access.
Launch the development environment in a Dev Container locally using Docker Desktop (or similar) and VS Code.
Ensure you have the latest version of VS Code installed.
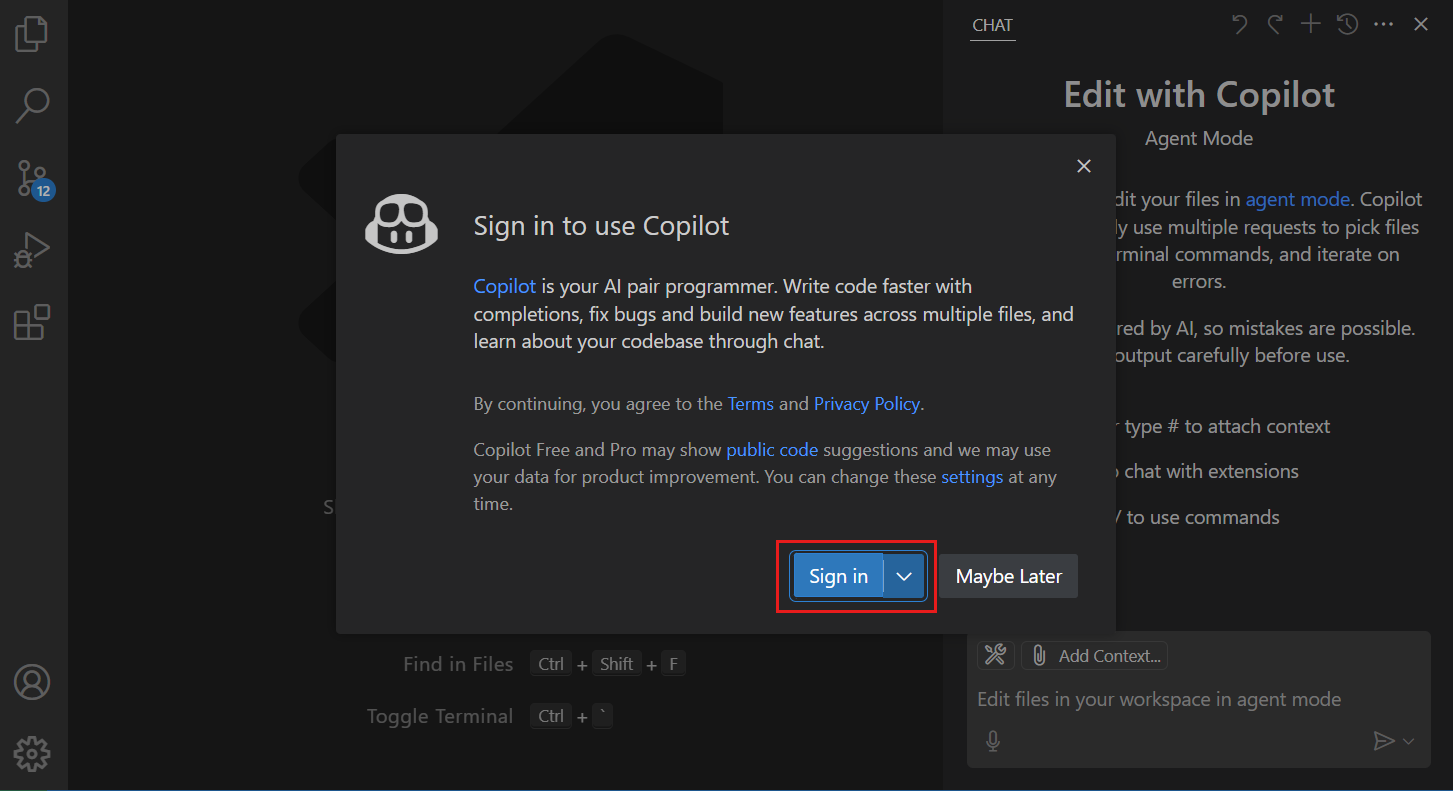
Ensure that you are logged in to your GitHub account in VS Code. - Read more: Sign in to GitHub in VS Code - And even more: Set up Copilot in VS Code
- Ensure that the GitHub Copilot extension is installed and enabled in VS Code.
- Install the Dev Containers extension in VS Code.
- Open VS Code
- Open Command Palette (
Cmd+Shift+PorCtrl+Shift+P) - Type "Git: Clone" and select it


Launch the development environment in a Dev Container locally using Docker Desktop (or similar) and VS Code.
Make sure Docker Desktop (or your preferred Docker environment) is installed and running on your machine.
- When prompted by VS Code, click "Reopen in Container"

- If not prompted, open the Command Palette (
Cmd+Shift+PorCtrl+Shift+P), type "Dev Containers: Reopen in Container", and select it. - Let VS Code build and start the Dev Container. This may take several minutes on first run.

- Click "Code" and then "Create codespace on main" in the GitHub UI


- Let GitHub set up the Codespace. This may take several minutes on first run.
Wait for the development environment to load completely. You should see the project files in the VS Code Explorer panel, and you should see the banner below indicating that the Dev Container has been setup successfully.

Alternatively (usually when running in a codespace), you may also just see an empty terminal prompt:

To verify that everything is working correctly, use the terminal (open a new one if necessary) to run the following command to check the copilot CLI version:
copilot --versionYou should then see output similar to this:

| Exercise | Focus |
|---|---|
| 1. Copilot Fundamentals | Modes, commands, custom instructions, codebase exploration |
| 2. Bug Hunt | Fix 4 planted bugs with Agent Mode |
| 3. Tool Building | Build CLI tool, setup custom agent & command for review |
| 4a. Cloud Feature | Copilot coding agent via GitHub Issues |
| 4b. Local Feature | Plan → Implement → Verify workflow |
| 5. Spec-Driven Development | GitHub Spec Kit workflow |
| 6. AI Feature Integration | Spec Kit + OpenAI integration |
| 7. Alternative Stack | Rebuild todo app in different stack (optional) |

The simple Todo App used in the exercises is located in the todo-app/ folder. You can use the commands below to run and test the app.
The app runs at http://localhost:8000 by default.
cd todo-app

## Install dependencies
uv sync

# Start app
uv run uvicorn app.main:app --reload

# Start app on custom port
uv run uvicorn app.main:app --reload --port 3000

# Run tests
uv run pytest tests/ -vhttps://docs.github.com/en/copilot/how-tos/configure-personal-settings/configure-in-ide
- Custom Instructions
- Chat Checkpoints
- GitHub Custom Agents Configuration
- Copilot Chat Cookbook
- About Copilot Coding Agent
- GitHub Copilot Prompt Engineering Guide
- Claude - Best Practices for Prompt Engineering
- Anthropic - Effective Context Engineering
- GPT-5 Prompting Guide
- Dev Containers
- Dev Containers Features
- VS Code - Developing inside a Container
- JetBrains - Connect to Dev Container
- Fetch - Downloading web content as markdown
- Context 7 - Documentation lookup
- Ref.tools - Documentation lookup
- Chrome DevTools MCP
- Playwright MCP
- Sequential Thinking
- Simon Willison - The Lethal Trifecta
- YouTube - The Message Every Engineer Needs to Hear
- More comping soon...
If the original repository is updated after you fork, you can pull in those changes.
Option 1: Via GitHub UI (easiest)
On your fork's GitHub page, click "Sync fork" if your branch is behind:

(Then select "Update branch" if prompted.)
Option 2: Via command line
# Check if upstream remote exists
git remote -v
If upstream is not listed, add it:
git remote add upstream https://github.com/computation-ninja/aswe-copilot-2025.gitThen fetch and merge:
git fetch upstream
git checkout main
git merge upstream/main

# Optional: push to your fork's remote
git push origin main